Skip to content



Sweetened condensed milk is a versatile baking essential that adds rich sweetness and creamy texture to pies, puddings, and beverages. However, running out of canned store stock while preparing a favorite dessert always brings up a practical culinary challenge: How to make sweetened condensed milk at home from scratch using basic kitchen staples.
Understanding exact reduction methods and temperature controls is essential for achieving the perfect consistency without commercial stabilizers. This comprehensive guide breaks down the precise steps for transforming fresh whole milk and sugar into a smooth, decadent homemade syrup.
Quick Summary
Core Ingredients: Requires only whole milk, granulated white sugar, a pinch of salt, and optionally butter or vanilla extract.
Reduction Ratio: Simmer and reduce the liquid slowly over low heat until the volume drops by approximately half.
Texture Check: The finished syrup should coat the back of a spoon smoothly and possess a warm ivory hue.
Pro-Tip: Stir the sugar continuously until fully dissolved during the initial heating phase to prevent unwanted graininess.
If you want to explore the commercial composition and foundational characteristics of this dairy staple before making your own batch, read our guide on what is sweetened condensed milk for full background context.
How to Make Sweetened Condensed Milk at Home
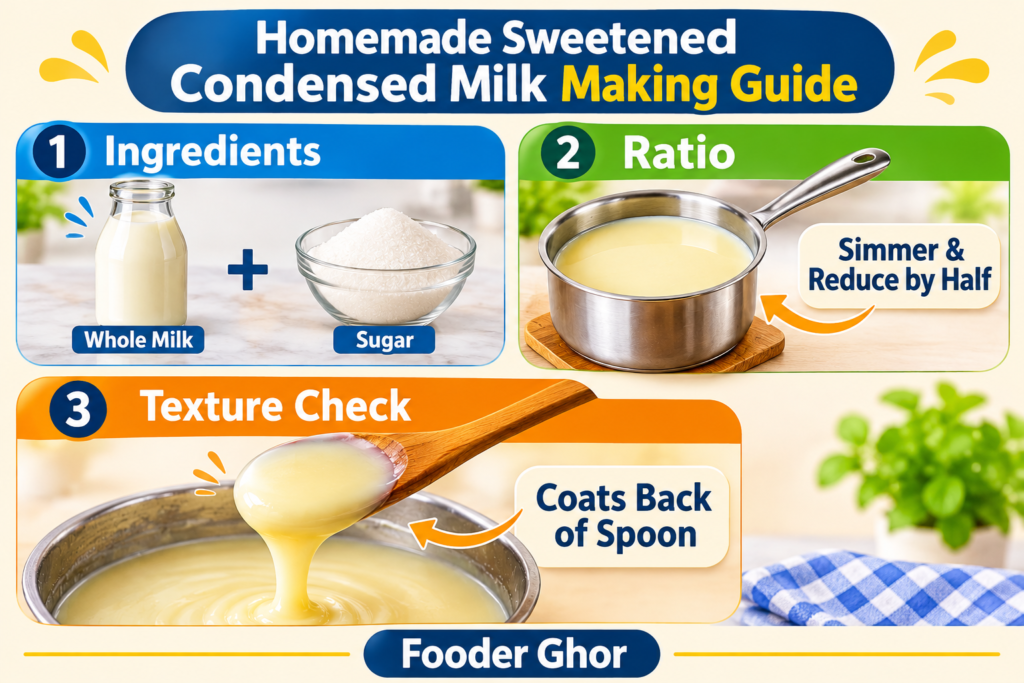
You can make sweetened condensed milk at home by simmering fresh whole milk and granulated white sugar slowly over low heat until the water content evaporates and the mixture thickens into a rich syrup.
Unlike commercial canning processes that use industrial vacuum equipment, making condensed milk on a stove relies on gentle thermal reduction. Controlling the burner temperature prevents scorching while allowing natural milk proteins and sugars to concentrate evenly.
To ensure your homemade batch stays fresh after preparation, review our guidelines on how long does sweetened condensed milk last to understand refrigerator storage limits.
Why Make Sweetened Condensed Milk from Scratch?
Making sweetened condensed milk from scratch gives you complete control over ingredient quality, allowing you to avoid artificial preservatives while enjoying a fresh, customizable baking syrup.
Preparing dairy reductions at home lets you adjust sweetness levels or experiment with pure ingredients without relying on store-bought steel cans. According to the USDA Food Safety and Inspection Service, proper food handling, clean utensils, and prompt refrigeration help reduce the risk of foodborne illness when preparing and storing food at home.
If you want to compare stovetop reduction methods with alternative dairy bases, you can also explore our upcoming guide on how to make sweetened condensed milk from evaporated milk.
Ingredients You Need for Whole Milk Condensed Milk
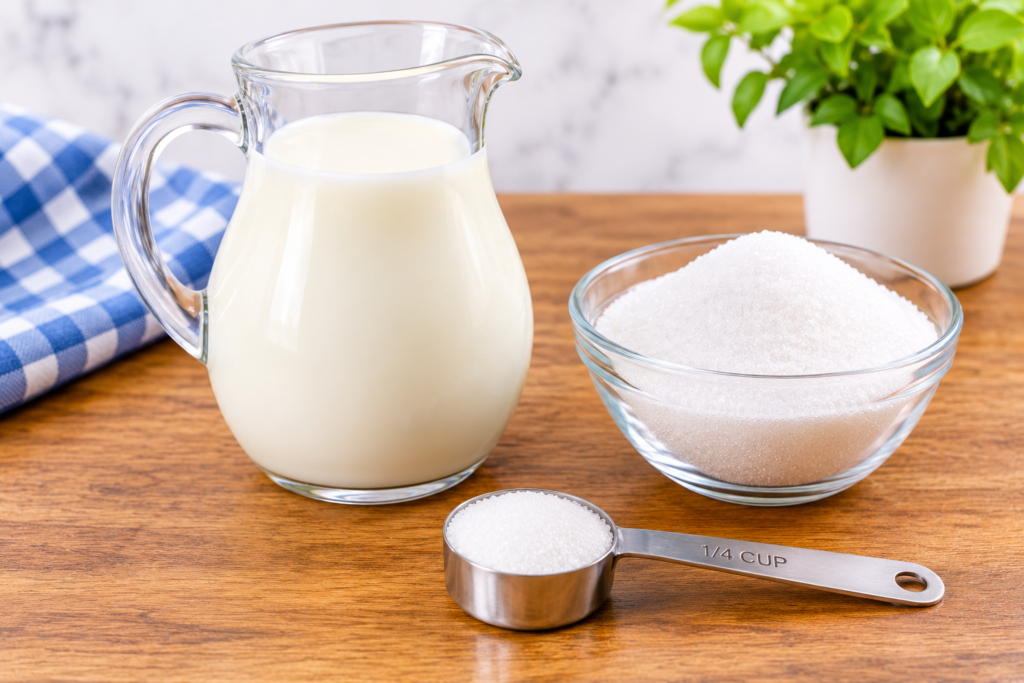
The essential ingredients needed for whole milk condensed milk include fresh whole cow milk, refined granulated white sugar, a tiny pinch of salt, and an optional touch of vanilla extract.
Whole Milk: Provides the necessary milk fats and proteins required for a rich, creamy mouthfeel.
Granulated White Sugar: Acts as both a sweetener and a natural preservative that thickens the syrup.
Salt: Enhances the overall flavor profile and balances the intense sweetness.
Butter (Optional): Adds extra gloss and smoothness to the finished reduction.
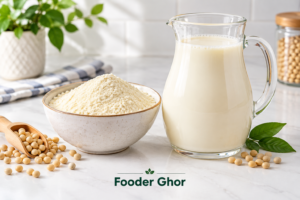
If you don’t have fresh whole milk available, you can also read our guide on how to make sweetened condensed milk from powdered milk for an easy homemade alternative.
How to Make Sweetened Condensed Milk from Whole Milk (The Process)
Making sweetened condensed milk from whole milk involves dissolving sugar into milk over gentle heat and simmering the liquid until it thickens into a pourable concentrate.
Step 1: Combining Milk and Sugar
To begin the process, combine two cups of fresh whole milk and three-quarters of a cup of granulated white sugar in a heavy-bottomed saucepan over medium-low heat.
Measure your ingredients precisely to maintain the correct sugar-to-dairy ratio.
Pour the whole milk and white sugar into a clean, heavy-bottomed saucepan.
Stir the mixture gently with a wooden spoon until all sugar granules dissolve completely into the liquid before it reaches a simmer.
For a dairy-free preparation, you can also try our guide on how to make sweetened condensed milk from coconut milk using a plant-based alternative.
Step 2: Simmering and Reducing
To reduce the dairy properly, maintain a gentle, rolling simmer on low heat while stirring frequently to prevent milk solids from sticking to the bottom of the pan.
Adjust your stove burner to low heat to prevent the milk from scorching or bubbling over.
Allow the liquid to simmer uncovered, letting steam evaporate steadily into the kitchen air.
Stir the mixture every few minutes, making sure to scrape the bottom and sides of the pan.
According to the FDA, proper heating and temperature control help reduce foodborne illness risks, while avoiding prolonged exposure to temperatures that allow harmful bacteria to grow. For a better understanding of its nutritional value, read our guide on sweetened condensed milk health benefits and explore the nutrients it provides.
Step 3: Achieving the Perfect Thickness
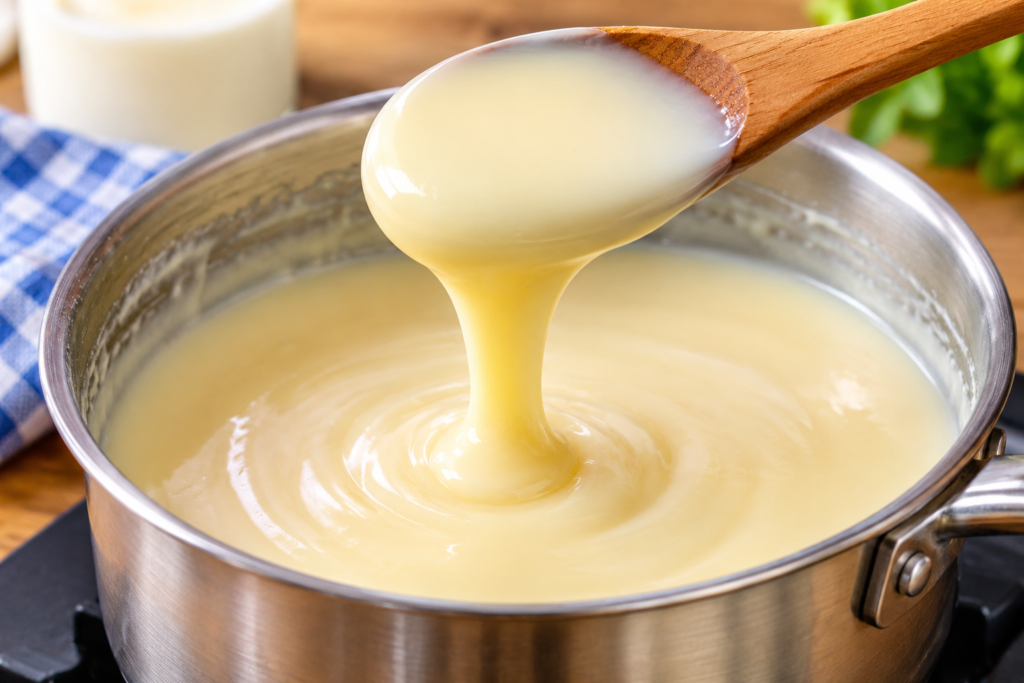
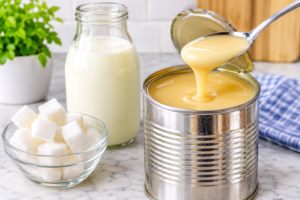
To achieve the perfect thickness, continue simmering until the liquid reduces by half, coats the back of a spoon thickly, and turns a rich ivory color.
Monitor the liquid level until it drops to roughly one cup in volume.
Test the consistency by dipping a metal spoon into the pot and checking if the syrup coats the back evenly.
Remove the pan from the heat source immediately, stir in a tiny pat of butter if desired, and let the mixture cool completely before transferring it to a storage jar.
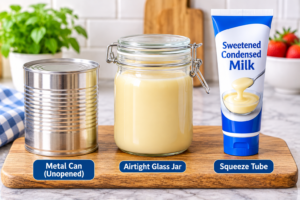
If you have leftover homemade portions that require cold storage, consult our guide on how to store sweetened condensed milk for proper container tips.
Crucial Tips for Preventing Grainy Homemade Condensed Milk
Prevent grainy homemade condensed milk by ensuring every grain of sugar dissolves completely before the liquid begins to simmer.
Dissolve Thoroughly: Stir the cold milk and sugar mixture thoroughly before turning on the heat.
Avoid Sugar Crystals: Wipe down the inner walls of the saucepan with a damp pastry brush during simmering to wash away stray sugar crystals that could cause a gritty texture.
Strain if Needed: Pass the finished warm syrup through a fine-mesh strainer to catch any unexpected clumps.
Proper storage also helps maintain milk quality and prevent unwanted texture changes, so read our guide on how to store evaporated milk for practical storage tips.
How to Fix Burnt or Discolored Condensed Milk
Fix burnt or discolored condensed milk by immediately pouring unburned portions into a clean pan, discarding scorched bottom layers, and straining out dark caramelized flecks.
If your heat was slightly too high during the reduction phase, brown specks may form. Never scrape the bottom of the saucepan if you notice a scorched smell, as mixing burnt solids will ruin the flavor of the entire batch.
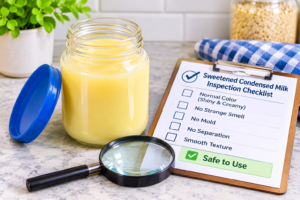
If you’re unsure whether discolored condensed milk is still safe to use, read our guide on does sweetened condensed milk go bad to recognize common spoilage signs.
Troubleshooting Common Homemade Condensed Milk Mistakes
Troubleshooting homemade condensed milk mistakes involves adjusting heat levels, stirring frequency, and cooling times to correct texture and color issues.
Too Thin: If the syrup remains watery, return it to the stove over low heat and simmer for another 10 to 15 minutes.
Separated Fats: If butter or milk fats separate, whisk the warm mixture vigorously until emulsified.
Off Flavors: Always discard batches that show signs of scorching or souring.
For a richer and creamier homemade alternative, read our guide on how to make sweetened condensed milk from heavy cream for another simple preparation method.
Why Trust Fooder Ghor?
At Fooder Ghor, we provide educational resources focused on understanding the safe use, handling, and storage of different types of milk, including breast milk, cow’s milk, goat milk, and raw milk, based on publicly available guidance from trusted sources such as the CDC, FDA, USDA, and AAP. Some milk-related articles, particularly those involving maternal and infant feeding topics, are reviewed for clarity and presentation by nursing students with academic training in maternal and child health to help make information easier to understand. This content is provided for learning purposes only and does not offer medical advice.
Frequently Asked Questions
A: Yes, regular granulated white sugar works perfectly as it dissolves completely during the long simmering process. If you want to avoid added sugar, read our guide on how to make sugar-free sweetened condensed milk for an alternative homemade recipe.
A: This happens due to caramelization if the heat is too high or if the milk cooks for too long. Keep the heat on a low simmer.
A: Yes, you can make chocolate sweetened condensed milk by combining milk, sugar, and unsweetened cocoa powder and gently simmering the mixture until it reaches a thick, creamy consistency. For a detailed recipe, read our guide on how to make chocolate sweetened condensed milk.
A: Graininess occurs when sugar crystals don’t dissolve properly or reform. Stirring continuously at the beginning helps prevent this.
A: Yes, sweetened condensed milk can have health side effects, particularly when consumed excessively due to its high added sugar and calorie content. Regular overconsumption may contribute to weight gain, blood sugar spikes, and dental problems. Read our guide on sweetened condensed milk side effects to understand its potential health risks.
A: It should reduce by half, coat the back of a spoon thickly, and have a rich cream color.
A: Yes, you can make dairy-free sweetened condensed milk using oat milk and sugar by simmering them together until the mixture thickens. For the complete preparation method, read our guide on how to make sweetened condensed milk from oat milk.
Conclusion
Mastering how to make sweetened condensed milk at home from scratch allows you to enjoy fresh, preservative-free baking ingredients whenever you need them. By combining whole milk and sugar, maintaining a gentle low simmer, and monitoring reduction levels carefully, you can produce a rich, velvety syrup for any dessert recipe. Always store your homemade batches in clean airtight containers and consume them within a week.
To explore how to handle leftovers or preserve sweet dairy for longer periods, check out our detailed guide on how to freeze sweetened condensed milk today!